How to Create Stickers in CS2, Publish Them, and Get Accepted
High-tier stickers like the Titan Holo and Crown have defined the CS2 economy for years, adding immense value to skins like the AWP | Dragon Lore.
However, a huge portion of the community remains unaware of the creative process behind these items, or the fact that sticker creation can be a lucrative side hustle.
In this guide, we’re breaking down the entire pipeline, from your first design in Photoshop to hitting "Publish" on the Steam Workshop.
Tools to Make Stickers
To make a sticker for CS2, you will need a drawing program and the CS2 Workshop tools to inspect and publish your work.
For the design program, you can use any app of your choice (such as Photoshop, GIMP, Paint, Canva, or Figma) as long as it includes basic drawing capabilities.
Then you will need to enable the CS2 Workshop in CS2:
1. Go to the in-game settings and find the Game tab.
2. Look for “Install Counter-Strike Workshop tools”, and set it to “Yes”.
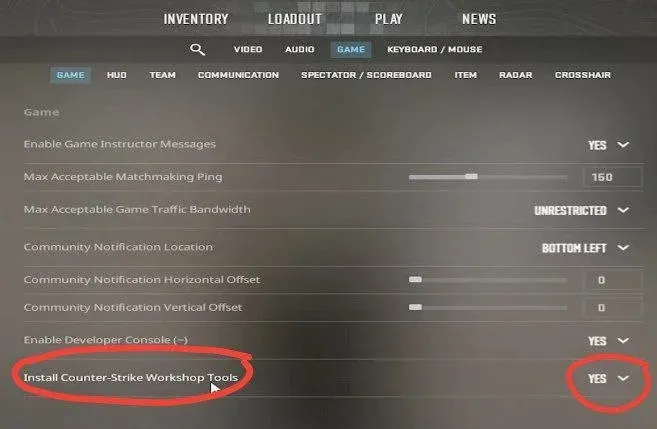
3. Now, when you re-open CS2, you will be asked which Launch Option to use: “Play Counter-Strike 2” or “Counter-Strike 2 Workshop Tools”.
4. For creating and publishing a sticker, you will need to tap on the “Counter-Strike 2 Workshop Tools”.
Now, let’s move on to the actual creation process of stickers. Let’s start with the easiest sticker:
Paper Sticker

To create a paper sticker, you will need a design with a transparency layer. To do it:
- Open your drawing program and create a new canva with dimensions 1024x1024.
- Let your imagination run wild: draw the sticker you want, then export it as a .TGA file.
Now that you have created the sticker's texture, you need a wear mask to simulate scratches. A wear mask is a grayscale image in which the Black scratches are the fastest and the easiest scratched part, and the White part scratches the least. To create a wearable mask:
- Create another 1024x1024 Canva and fill it with Black.
- Upload the sticker to the canva and give it a color between Black and White. It can be Grey.
- Color the parts you want to keep when scratched with White color.
- Again, save that picture as a .TGA file.
You can already check the sticker you made in-game. For this, open “Counter-Strike 2 Workshop Tools”, find the “example_paper” in the “Sticker Kit” tab on the left, and click it. After that, on the screen you will see different icons and writings.
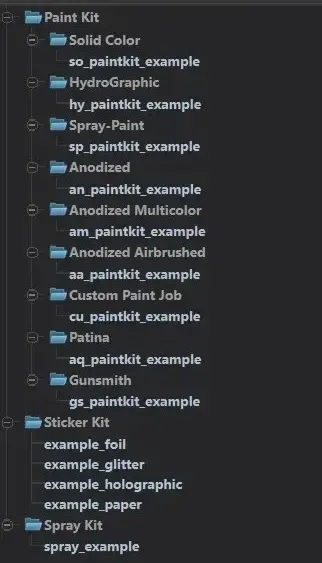
Find Albedo Texture, and they click on the File image on the right of the Albedo Texture. It will open up a folder where you can place the assets. To keep everything clean and tidy, create a file named custom and place all sticker designs inside.
You will also see a Magnifier icon next to the File icon. After clicking it, find the Texture Picture you just drew and select it. Similarly, under the Albedo Texture, you will find Wear Mask. Do the same actions but select the Wear Mask you created.
In the top right corner, you will see a button named “Inspect”. Using that button, you can check out how your sticker looks.
Foil Sticker
To create a Foil Sticker, you will need a picture type called a “Normal Map”. Go back to the drawing app and duplicate the layer of the sticker you already drew, and generate a Normal Map by going to “Filter”, “3D”, and” Generate Normal Map”. Then export it as a .TGA file.
Besides the “Normal Map” picture, you will need a “Roughness Texture”. Open a new canva and add the sticker. Make it black and style the layer in the “Color Overlay” with a brightness value around 65. You can also select different parts of the sticker and make them with different roughness values. Grey parts will be rougher. Similarly to all end processes, save it as a .TGA file.
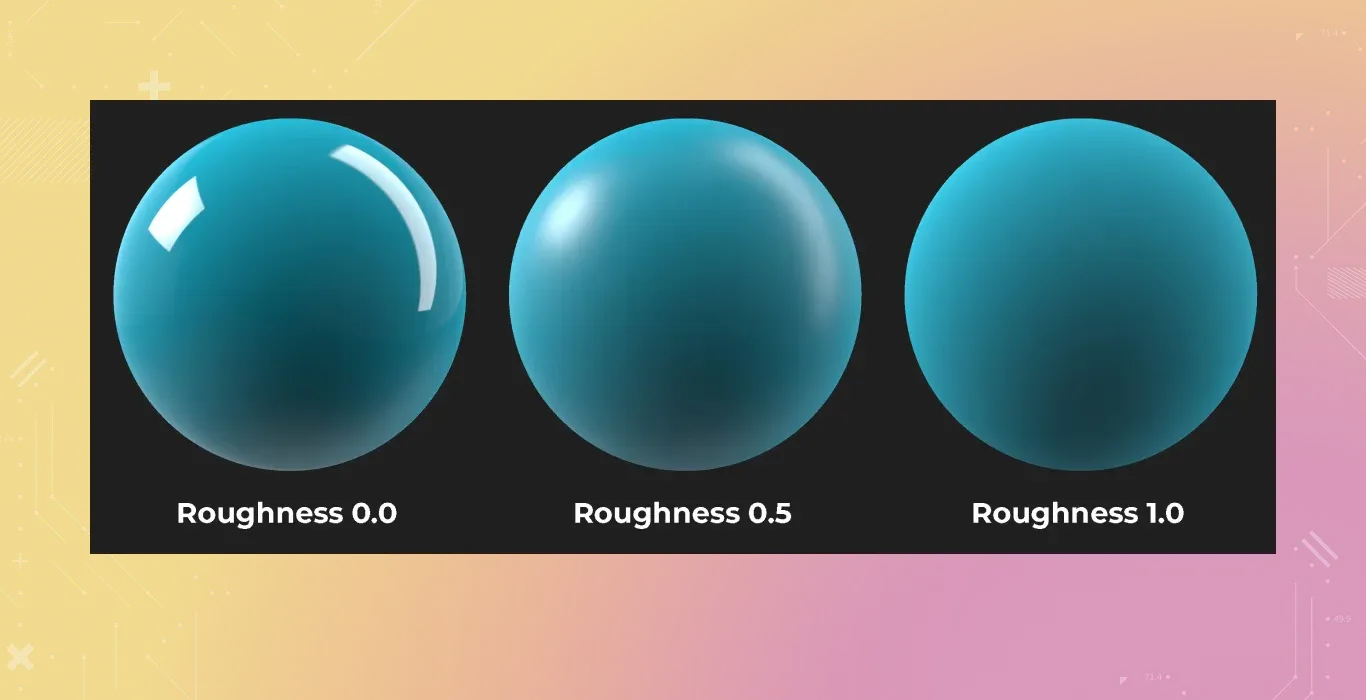
To create the Foil Sticker, go to the “CS2 Workshop Tools”, find the “example_foil” tab, and click on it. On the right side, you will see new texture types such as Normal Map and Roughness Mask. Now, use the magnifying glass to upload the canva you created for the Normal Map and Roughness Mask. Check that the Albedo Texture and Wear Mask are already uploaded to avoid errors.
Then, when everything is uploaded in its place, click “Inspect” to inspect the sticker in-game. Now, your sticker will have a metallic and 3D look of a Foil Sticker.
Glitter Sticker
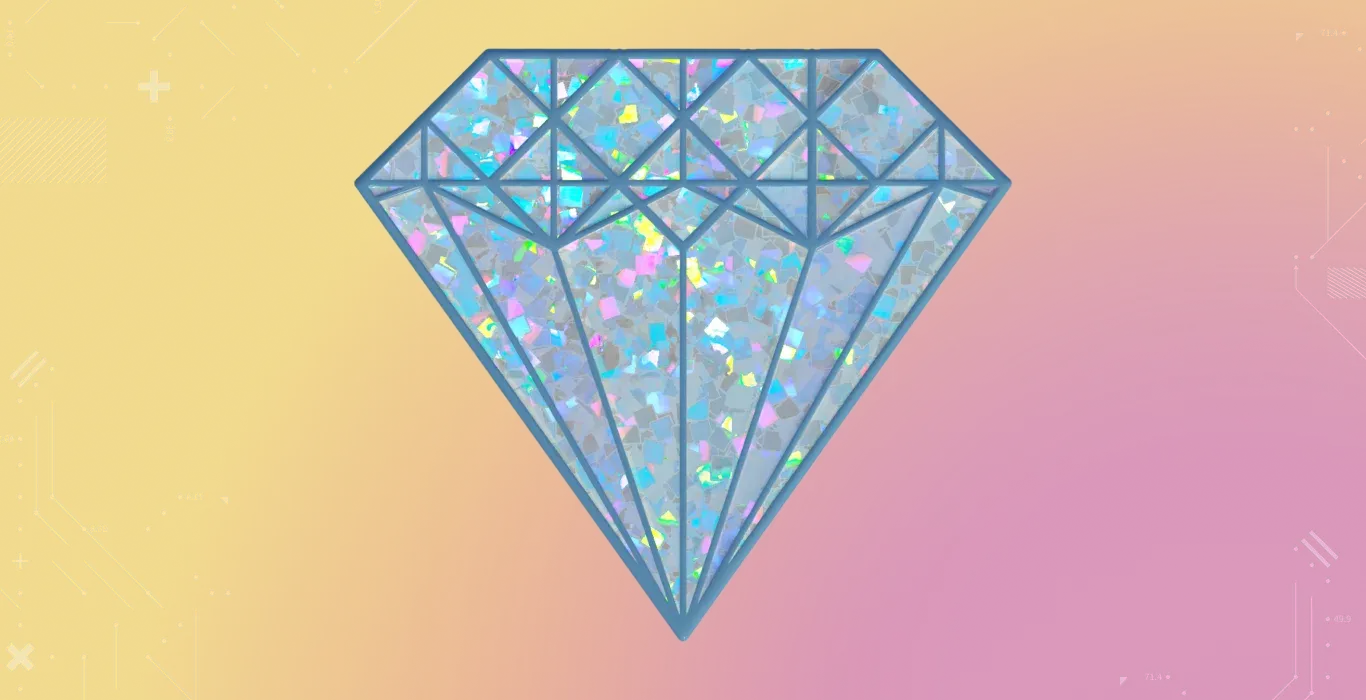
For a nicely looking glitter sticker, we will need a “Glittler Map”. It is a grayscale image that depicts the intensity of the glitter effect on your sticker. White color means a lot of glitter, and Black means no glitter.
- Open your sticker Texture and select the parts you want to make glitter.
- Make the sticker background Black, the sticker Grey, and the glitter parts White.
- Export as a .TGA file and open “CS2 Workshop Tools”.
This time, as we are creating a Glitter sticker, click on the “example_glitter” on the left side. You can see the same Albedo Texture, Normal Map, and Wear Mask, and a new Glitter Mask icon. Upload the “Glittler Map” using the magnifying glass icon and check if other options are uploaded correctly.
Hit the “Inspect” button, and you will see that the sticker parts you made white show the glitter effect while the rest of the sticker does not. If you want to have a flat glitter sticker but your sticker looks metallic, go back and delete the “Normal Map” picture.
Holographic (Holo) Sticker
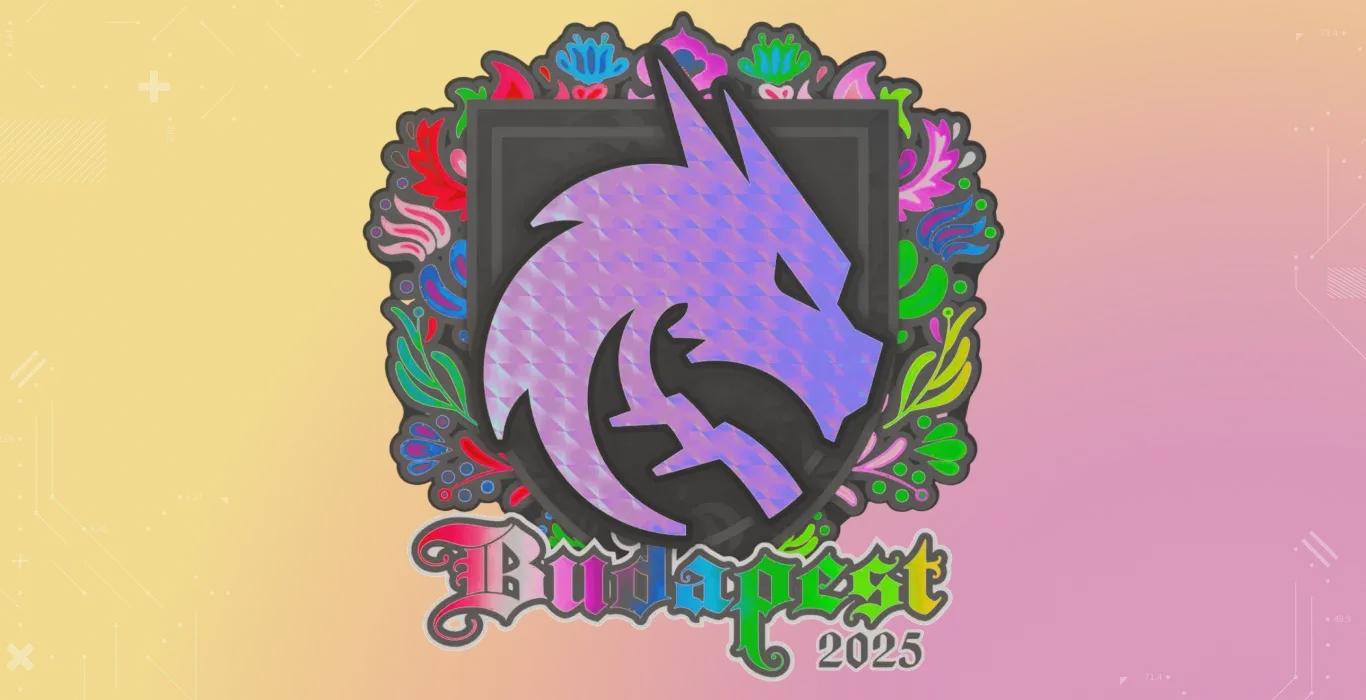
The hardest sticker to make is the Holo Sticker, as it requires effort to make and requires even more work to make it look beautiful.
To make a Holo Sticker, you will need a “Holo Mask”. Holo Mask consists of three different layers and each layer has its own functionality.
To edit them separately:
Go to Window, navigate to Channels, where you will see four different channels: RGB, Red, Green, and Blue. Now you can edit them individually.
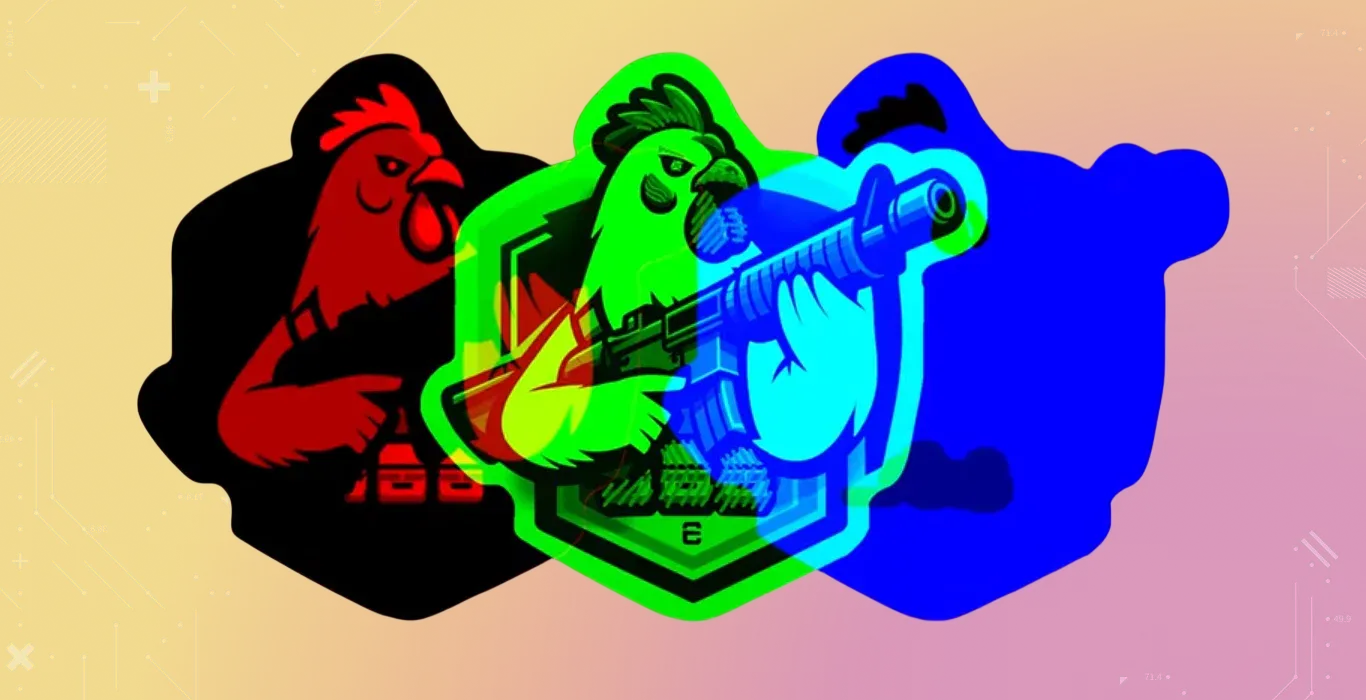
- Red Channel is responsible for Holo Intensity, where White color means Full Holo Effect and Black means no effect. You can use colors between white and black to get different holo intensities.
- In the Green Channel, you can set the Warp Pattern, which determines how intricate the patterns are. For example, Titan Holo is made using Warp Pattern.
- In the Blue Channel, we can apply a Color Shift in different parts of the sticker. You can color one part Black and White another gives the biggest shift. If you want the Color Shift to be smaller, then simply use the grey color. However, if you want to keep the Holo Sticker the same color, you can keep the Blue Channel Empty.
Then save it as a .TGA file, navigate to the Workshop Tools and select the “example_holographic”.
The texture that you made needs to be opened through the magnifier icon in the “Holo Mask”. Now you can hit the “Inspect” button and see the holo of the sticker you made.
That’s it, you know how to make any type of sticker, whether it is Paper, Foil, Glitter, or a Holo one.
How to Publish a Sticker?
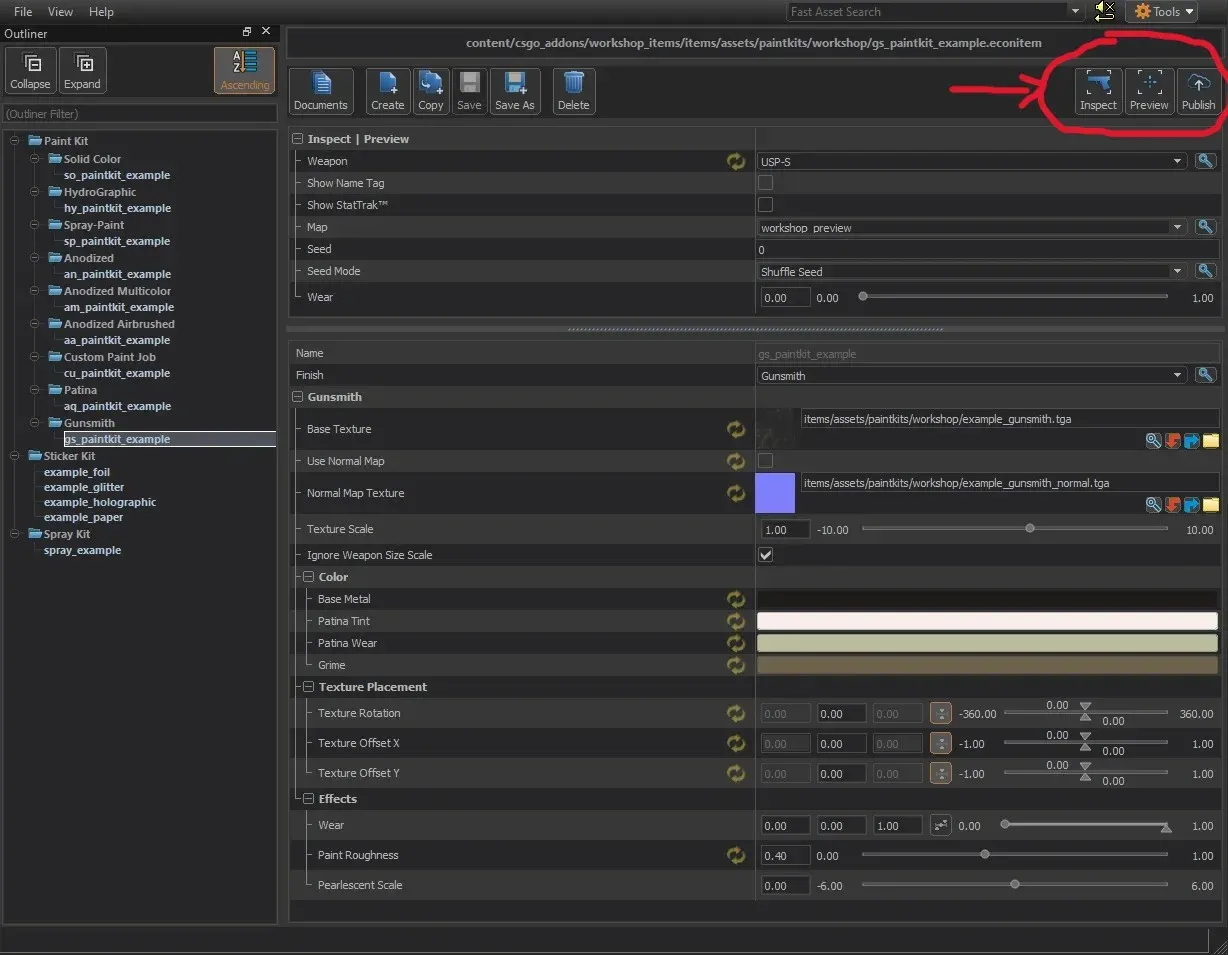
If you have made your own sticker and want to publish it, navigate to the Counter-Strike 2 Workshop Tools and find the “Publish” button next to the “Inspect” button. To make your sticker get accepted, spend most of the time thinking about how it should look, and only after that, start the journey of creating your sticker.
Once you are done, click the “Publish” button, and a new tab will be opened. In the left upper corner, click on the “+” then give it a proper name, a decent description with pictures of your creation. To upload the image, use the “Capture” button, and you are good to go.
Don’t forget to put the “Visibility” of the creation to “Public” to be shown in the workshop.
To check whether you posted your sticker in the workshop or not, navigate to Steam, then to Workshop, and click “Your Files”. There, you will be able to see all the items you created.
If your creation follows the requirements and doesn’t violate any rules, it will be posted to the public after the approval by Steam moderation staff. Whether your sticker gets chosen or not, you will be asked for your credit card information. In case your sticker gets chosen by Valve, you will be granted with $6,000 and your sticker will be added to the game, which is a huge plus to your designer portfolio.